Introduction Why Convert 12V to 5V?
Many digital circuits and devices, like Arduino boards, Raspberry Pis, and various sensors, require a stable 5V DC power supply. If you have a 12V source, such as a battery or a power adapter, you'll need a step-down regulator to safely provide the correct voltage.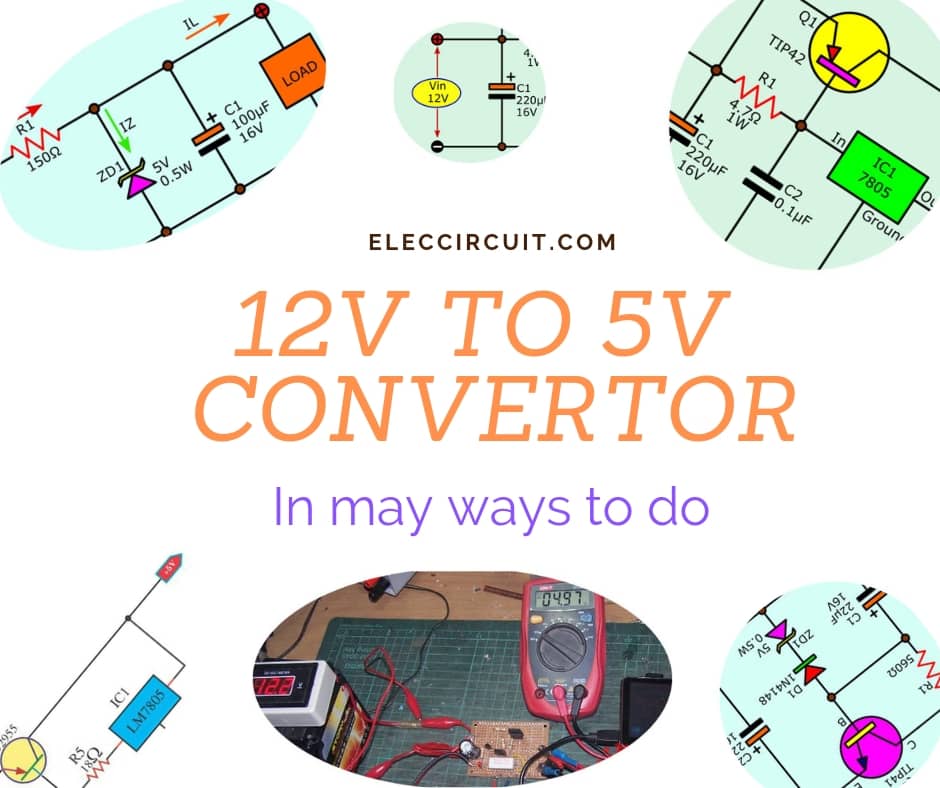
This guide provides detailed insights into various linear regulator circuits, ideal for low-power applications, projects and educational purposes. You will learn how to build your own 12V to 5V converter.
Choosing the Right 5V Converter Circuit
Selecting the appropriate 5V converter depends on factors like current requirements, available components, and space limitations. Prioritize cost-effectiveness, ease of construction, and the required output current.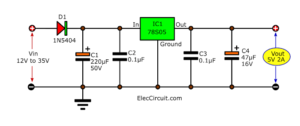
Consider these guidelines: save money, save time, easy to build, small size, and, importantly, assess the load's current needs. Using a high-current circuit for a low-current load is inefficient and wasteful.
Zener Diode Voltage Regulator
For low-current applications (under 50mA), a Zener diode voltage regulator circuit is a simple and effective solution. This method uses a Zener diode to maintain a constant 5V output.
Calculate the resistor (R1) value based on the input voltage, Zener voltage, and load current. Ensure the Zener diode and resistor's power ratings are adequate for the circuit's demands.
Transistor Series Voltage Regulator
To handle higher currents (e.g., 100mA or more), incorporate a transistor into the Zener regulator circuit. This increases the current capacity.
Modify the Zener diode voltage to compensate for the transistor's base-emitter voltage drop. Consider using a 5.6V Zener diode or combining a regular Zener diode with a standard diode to achieve this voltage drop. Choose components with appropriate power ratings and consider heat sinks if required.
“Always prioritize safety and component specifications when designing and building circuits.
Expert Tip
Enhance Your Project!
Explore these interactive elements to deepen your understanding
Circuit Diagrams
Access detailed circuit diagrams for each converter type, making it easier to visualize and build your own.
Component Selection Guide
Find a list of the components used in each circuit, as well as component data sheets and purchase links.
Calculator
Use our interactive calculator to determine the required resistor values for Zener diode regulator circuits.
7805 Voltage Regulator A Simple and Reliable Solution
The 7805 voltage regulator IC offers a simple, efficient, and widely-used method for converting 12V to 5V. It has integrated protection features and is available in an easy-to-use package.
For currents around 1A, the 7805 is an excellent choice. Always use appropriate heat sinking due to power dissipation. For higher current needs (1.5A or more), use parallel 7805 ICs or combine a 7805 with a power transistor to boost the current.
With the 7805, the output ripple is low; typically, the regulator will give output ripple of about 10mV. Note that because 7805 is a linear regulator, it has a voltage drop across input and output which results in generating heat, when full load current is 1A, the output power is about 7W, so it is necessary to mount it on a good heatsink
Higher Current Voltage Regulator Options
To achieve higher output currents, use a transistor to enhance the capabilities of a 7805, or build dedicated high current regulators.
For 1.5A, the 7805 can be combined with a TIP41 to allow for an increase in current. For higher output currents (2A and above), using PNP transistors (TIP42) will work effectively.
Application Digital Cameras and Beyond
A perfect real-world example is a digital camera. Many digital cameras feature a DC 5V port capable of delivering a current of 2A. By using a step-down regulator, it's possible to extend battery life by using a lead-acid battery (12V) to 5V to charge the camera. Using a 12V 10Ah battery, it is possible to take the camera for 5 hours.
Regardless of your project, whether it involves powering an Arduino or a digital camera, this guide will provide you the knowledge for choosing the right components and building a robust 12V to 5V converter circuit.