Why 2-Step Verification Matters Protecting Your Google Account in 2024
In today's digital landscape, safeguarding your Google Account is paramount. With phishing, password leaks, and account breaches becoming increasingly prevalent, relying solely on a password is no longer sufficient. This guide provides a comprehensive walkthrough of Google's 2-Step Verification (2SV), formerly known as two-factor authentication (2FA), which adds an essential layer of protection.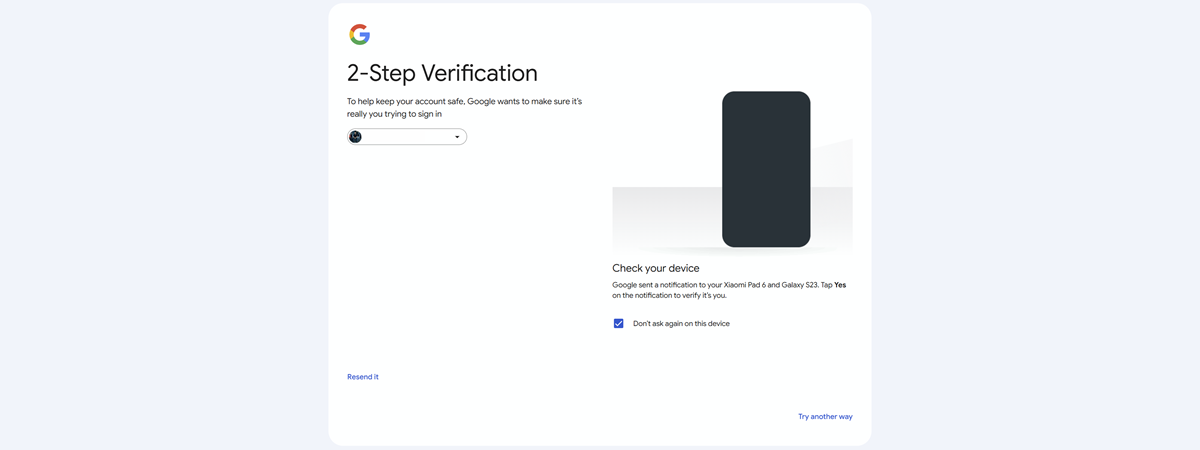
This tutorial will equip you with the knowledge to enable 2SV, manage your verification methods, and even disable it if necessary. Implementing this simple step significantly bolsters your account's security. Let's dive in and explore how it works!
Understanding 2-Step Verification How 2-Step Verification Works on Google
Google's 2-Step Verification requires two forms of identification when you sign in: your password and a second verification method. This second factor can be a security key, a prompt on your phone, or a one-time code generated by an authenticator app.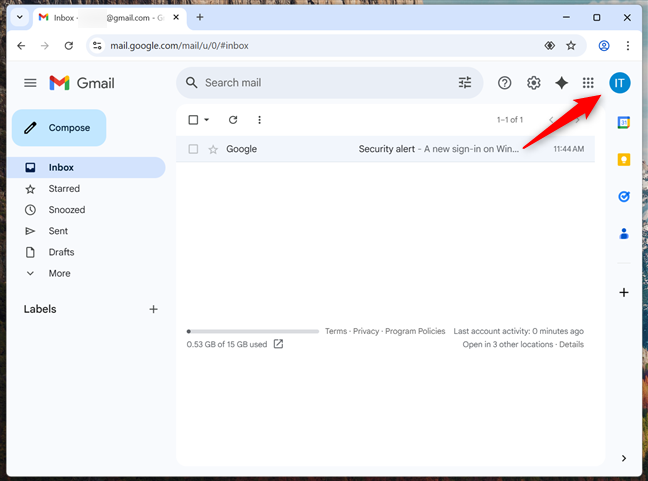
Even if someone obtains your password, they cannot access your account without the second verification step, dramatically reducing the risk of unauthorized access. Explore the nuances of multi-factor authentication to enhance your understanding of digital security.
Enabling 2-Step Verification Step-by-Step Guide to Enable 2-Step Verification
Here's how to activate 2SV:
1. Open Gmail and log in to your Google Account.
2. Click your profile icon (avatar or initials) in the top-right corner.
3. Select 'Manage your Google Account' from the dropdown menu.
4. Navigate to the 'Security' tab.
5. Scroll down to the 'How you sign in to Google' section and click '2-Step Verification'.
6. Click 'Turn on 2-Step Verification' or 'Add phone number'.
7. Enter your phone number and click 'Next'.
8. Enter the six-digit verification code received on your phone and click 'Verify'.
9. Confirm the process by clicking 'Done'. Your account is now protected!
After activation, explore additional verification methods such as passkeys, security keys, Google prompts, authenticator apps, and backup codes. These enhance the security and convenience of your 2SV setup.
“2-Step Verification is a critical step in protecting your Google Account and your sensitive data.
Codrut Neagu
Enhance Your Security
Explore these interactive methods for more security:
Passkeys & Security Keys
Discover the most secure way to verify your identity using your devices' built-in security features.
Google Prompts
Approve sign-in attempts quickly and securely with a tap on your phone.
Authenticator Apps
Generate one-time codes for robust security, even without an internet connection. This increases privacy and mitigates security issues.
Advanced 2-Step Verification Options Configuring Sign-in Options for Enhanced Security
Once 2SV is enabled, Google will default to using your phone for verification. However, you can add alternative methods to suit your preferences and security needs. Here's how:
Option 1: Passkeys and Security Keys: This is one of the most secure options. Passkeys are linked to your device and verified with your screen lock, while security keys (USB, Bluetooth, NFC) connect to your computer or mobile device during login. Go to your 2-Step Verification settings, select 'Passkeys and security keys,' and create a passkey.
Option 2: Google Prompts: Google prompts offer an easy verification method using your smartphone. When someone tries to sign in, you'll receive a notification to approve or deny the attempt. Google prompts are often enabled by default when you activate 2SV.
Option 3: Authenticator Apps: These apps generate time-sensitive passcodes, offering a robust verification method even without internet access. Google Authenticator and apps like Microsoft Authenticator are supported. Set up the authenticator app using the QR code in your 2-Step Verification settings.
Why 2SV is Always Needed Understanding the Reasons for Frequent Verification
Ever wonder why you are prompted to verify your identity frequently? Google might request this if it detects unusual activity or potential risks. This can include logging in from a new device, a different location, or after clearing your cookies. These checks are designed to ensure your account remains protected from unauthorized access. It’s always worth double-checking your recent activity, and this is the first line of defense against account hijacking.